
Emergency Plumbing Advice
What to Do When a Pipe Bursts: How to Find and Shut Off Your Main Water Valve
A step-by-step emergency action plan to stop the flow of water and protect your home during a sudden plumbing failure.
September 1, 2026
Hearing the sound of rushing water inside your walls or watching water pour through a ceiling is one of the most stressful situations a homeowner can experience. When a pipe ruptures, every second counts. The single most important action you can take to limit property damage is cutting off the home's water supply immediately.
Understanding where your main shut-off valve is located and knowing how to operate it can mean the difference between a minor cleanup and catastrophic structural damage. Here is a clear, actionable guide on what to do the moment a plumbing crisis strikes.
Step 1: Locate Your Main Water Shut-Off Valve
Before you start mopping up water or inspecting the broken pipe, your primary focus must be stopping the flow. The main shut-off valve controls all the potable water entering your home.
The exact location of this valve varies depending on your home's foundation and geographic region, but it is typically located along the perimeter where the main water line enters the structure:
- Basements: Look near the front foundation wall, typically near floor level or close to the water meter.
- Crawlspaces: The valve is usually positioned near the front wall where the incoming line rises into the living space.
- Slab Foundations: Check inside utility closets, near the water heater, inside the garage, or near the laundry area.
- Outdoor Meter Boxes: In warmer climates, or if there is no indoor shut-off, the valve may be located outdoors near the street inside a ground-level concrete or plastic meter box.
Step 2: Turn Off the Water
Once you have located the valve, determine which style you have to shut it off correctly:
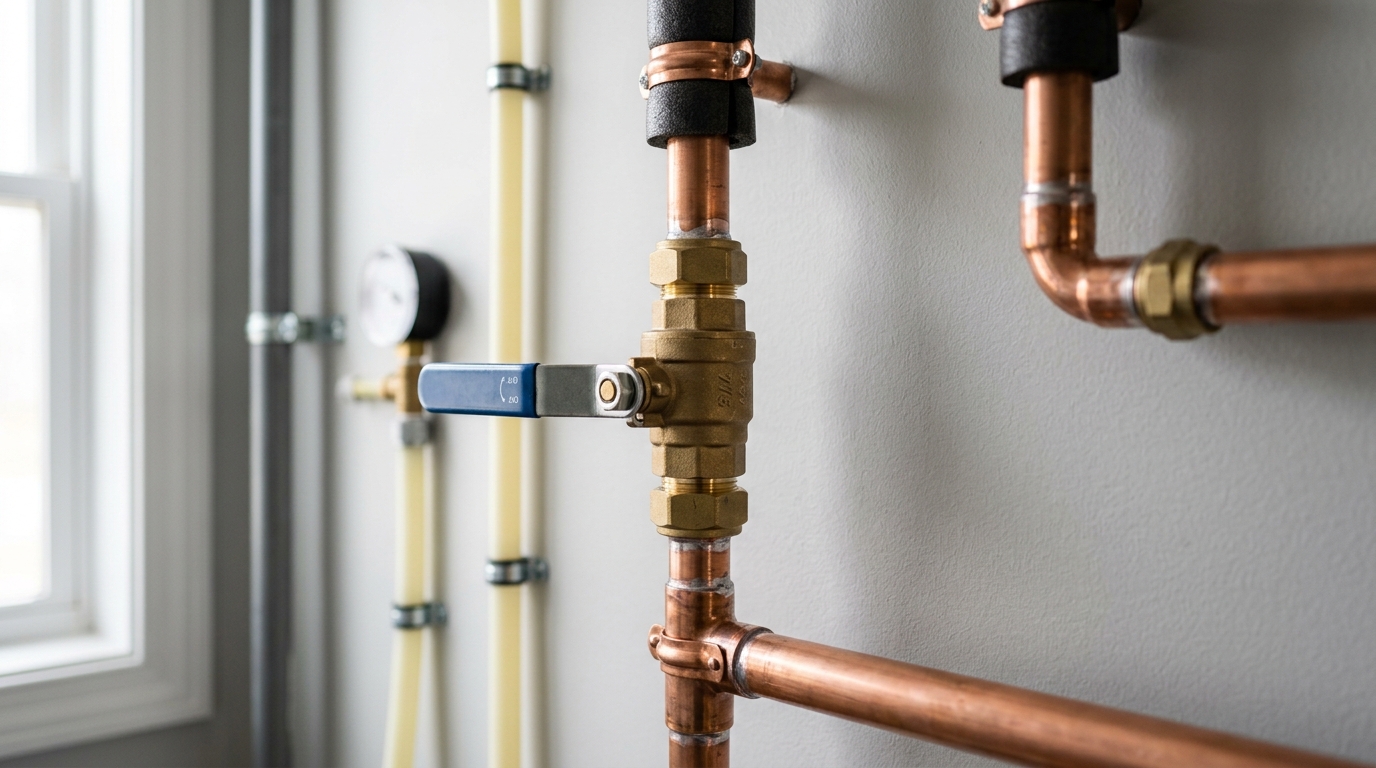
- Ball Valve (Lever Handle): This modern valve design features a straight lever handle. To shut off the water, turn the handle 90 degrees so that it sits perpendicular (at a right angle) to the pipe. When the handle forms a cross with the pipe, the water is fully off.
- Gate Valve (Round Wheel Handle): Common in older plumbing systems, this valve resembles an outdoor garden hose spigot. Turn the wheel clockwise (to the right) until it stops turning completely. Avoid using excessive force or tools that could snap the stem of an older, corroded valve.
- Street-Side Curb Stop: If you must turn off the water at the meter box, you may need a specialized meter key or a crescent wrench and pliers to rotate the valve head one-quarter turn clockwise until the padlock eyelets line up.
Step 3: Relieve Residual Pipe Pressure
Even after the main valve is shut off, gallons of water remain pressurized inside your plumbing lines. To relieve this pressure and prevent residual water from continuing to leak out of the ruptured pipe:
- Go to the lowest level of your home (such as a basement or ground-floor sink) and turn on both the hot and cold faucets.
- Open outdoor hose bibs to let gravity drain the lines away from your interior spaces.
- Open faucets on higher levels to allow air into the system, which accelerates the drainage process.
Step 4: Protect Your Home and Ensure Electrical Safety
Once the water supply is halted, take critical safety precautions before starting cleanup efforts:
- Check for Electrical Hazards: If standing water has reached electrical outlets, extension cords, appliances, or your main breaker panel, do not enter the room or touch any switches. Contact your local power utility or an electrician if you cannot safely disconnect power.
- Protect Your Water Heater: If your water lines are completely drained, turn off the power supply to your water heater (shut off the breaker for electric units, or switch gas units to "Pilot") to prevent the heating elements or tank from burning out while dry.
- Move Valuable Items: Relocate furniture, rugs, electronics, and personal belongings away from wet areas to prevent secondary mold and moisture damage.
Step 5: Document Everything for Insurance
Before you begin significant cleanup or disposal of damaged items, thoroughly document the scene:
- Take clear photographs and videos of the burst pipe, the source of the leak, and all affected personal property.
- Capture wide-angle shots of structural damage to drywall, ceilings, and flooring.
- Keep damaged materials or components available until your insurance adjuster has had an opportunity to inspect them.
Step 6: Contact a Professional Plumber
A burst pipe is rarely a simple cosmetic fix. The underlying cause must be properly diagnosed—whether it resulted from freezing temperatures, excessive water pressure, corrosion, or physical damage. A licensed plumbing professional can safely cut out the damaged section, install reliable replacement fittings, inspect surrounding pipes for stress, and test the entire system under normal operating pressure before water service is restored.
Proactive Tip: Test Your Valve Today
Do not wait for an emergency to find out if your main shut-off valve is stuck. Locate your valve today, turn it gently to ensure it operates smoothly, and tag it with a bright, visible label so every member of your household knows exactly what to do in a crisis.