
General Plumbing Repair
Troubleshooting Common Household Plumbing Issues: Toilets, Faucets, and Water Pressure
A practical guide to diagnosing and addressing everyday residential plumbing nuisances safely and effectively.
September 1, 2026
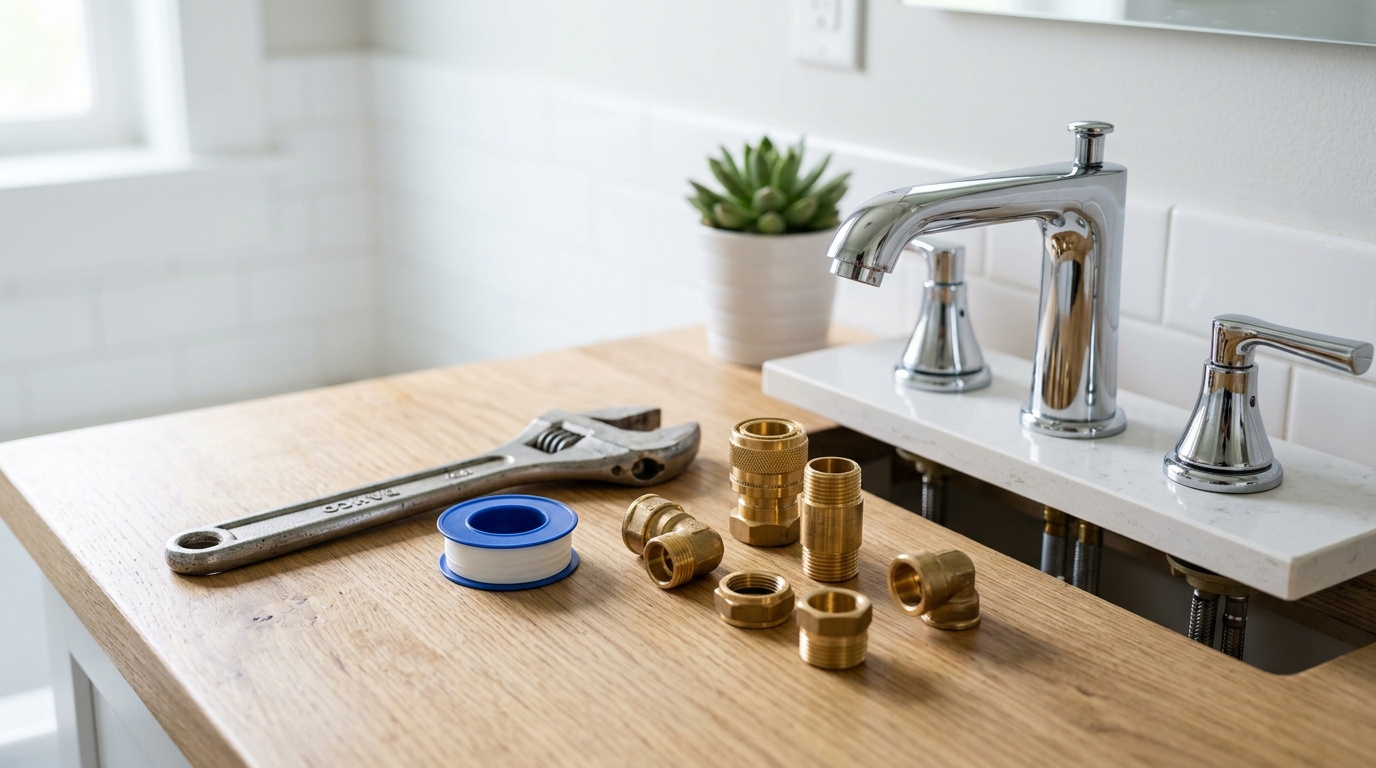
Everyday plumbing hiccups like a trickling toilet, a steadily dripping faucet, or an unexpectedly weak stream of water can interrupt your household routine. While complex plumbing repairs require specialized expertise, many common issues stem from simple component wear, mineral buildup, or minor mechanical misalignments. Understanding how these fixtures operate helps you identify the root cause of the problem and take appropriate corrective steps safely.
1. Resolving a Continuously Running Toilet
A toilet that runs constantly or intermittently cycles on and off without being flushed usually has an internal component that is failing to create a watertight seal or a fill mechanism set to the wrong level.
Checking the Flapper and Chain
The flapper is the rubber seal at the bottom of the tank that lifts when you push the flush handle. Over time, rubber flappers can warp, collect mineral deposits, or deteriorate from exposure to water treatment chemicals.
- Inspect the chain: Ensure the chain connecting the flush lever to the flapper has roughly half an inch of slack. If it is too tight, the flapper cannot sit flat against the valve opening. If it is too loose, it can slip under the flapper and prevent a complete seal.
- Inspect the rubber surface: Run your finger along the rim of the flapper and the flush valve seat. If the rubber feels brittle or leaves residue on your hands, replace the flapper with a model matched to your toilet's tank size.
Adjusting the Fill Valve and Water Level
If the flapper is sealing properly but water continues to trickle into the overflow tube (the open plastic pipe inside the tank), your fill valve may be adjusted too high.
- Locate the adjustment screw or clip on the fill valve assembly.
- Lower the float mechanism so that the incoming water shuts off approximately one inch below the top opening of the overflow tube.
- If adjusting the float does not stop water from entering the tube, the internal seal of the fill valve may be worn, indicating that the fill valve assembly should be replaced.
2. Addressing a Dripping Faucet
A leaking faucet is typically caused by degraded internal seals, springs, or cartridges. Faucets generally fall into four design categories: compression, cartridge, ball, and ceramic disc.
Preparation and Isolation
Before disassembling any faucet fixture:
- Close the dedicated hot and cold shutoff valves beneath the sink.
- Turn on the faucet to release any remaining water pressure in the lines.
- Cover the sink drain with a washcloth or plug to prevent small screws and components from dropping down the drainpipe.
Identifying and Replacing Worn Parts
- Cartridge and Ceramic Disc Faucets: Remove the decorative handle cap, loosen the retaining screw, and pull off the handle. Use an adjustable wrench or pliers to remove the retaining nut. Pull the cartridge straight up. If there is visible cracking, pitting, or internal wear, install an exact replacement cartridge.
- Compression Faucets: These traditional fixtures use rubber washers that press against a metal seat. Unscrew the valve stem to inspect the washer at the bottom. Replace cracked or flattened washers, as well as the O-rings along the stem.
- Mineral Deposits: If components are covered in white, crusty scale, soak them in white vinegar to dissolve calcium and magnesium deposits before reassembling.
3. Diagnosing and Resolving Low Water Pressure
When investigating low water pressure, determine whether the problem affects a single fixture or the entire home.
Single Fixture Pressure Drops
If only one faucet or showerhead produces weak flow, the restriction is usually located right at the outlet point.
- Clean the Aerator: Unscrew the aerator from the tip of the faucet spout. Disassemble the internal mesh screens and rinse away trapped debris. Soak the parts in warm vinegar to remove hard water scale, then reinstall hand-tight.
- Clear Showerhead Nozzles: Mineral buildup frequently blocks the small silicone or metal nozzles on showerheads. Rub the nozzles with your fingers or soak the showerhead in a bag of vinegar secured with a rubber band to dissolve obstructions.
- Check Fixture Shutoff Valves: Verify that the supply valves under the sink are turned fully counterclockwise to the open position.
Whole-House Pressure Reductions
If low pressure affects every fixture simultaneously, check these common sources:
- Main Shutoff Valve: Ensure your home's main water supply valve is fully open, especially if recent plumbing work was performed.
- Pressure-Reducing Valve (PRV): Homes equipped with a PRV on the main line may experience pressure loss if the valve's internal diaphragm fails or requires adjustment.
Knowing When to Seek Professional Assistance
While basic maintenance tasks are manageable for most homeowners, certain plumbing conditions require professional intervention to avoid water damage or structural issues. Reach out to a qualified plumber if you encounter hidden leaks behind walls, corroded galvanized supply lines, persistent whole-house pressure drops, or fixtures that fail to seal even after replacement parts are installed.