
Sink Repair
Why Your Bathroom Sink Stopper Won't Seal (And How to Fix It)
Simple troubleshooting tips to restore a tight seal on your bathroom drain.
August 20, 2026
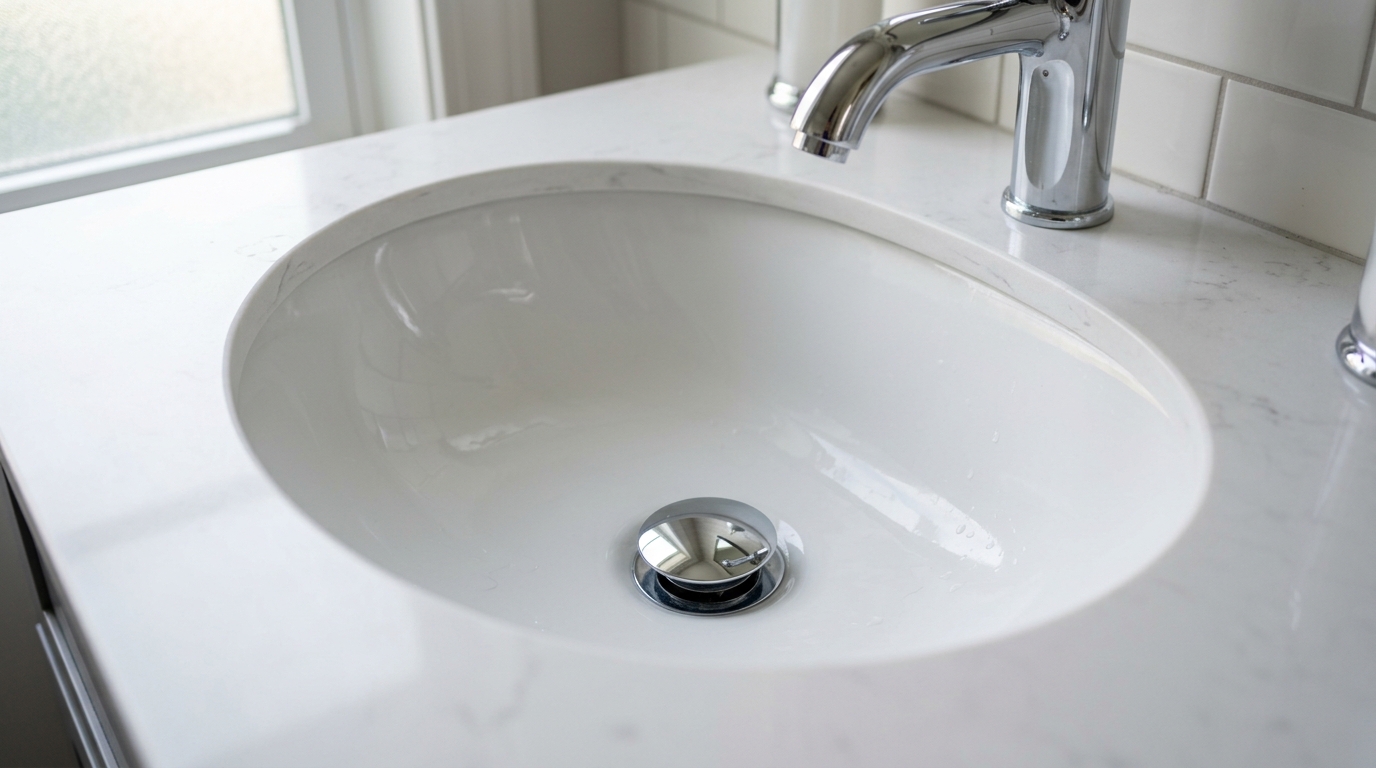
Why does my bathroom sink's pop-up stopper not seal all the way anymore? Most of the time, this happens because of three common problems: a worn-out rubber gasket, a pivot rod underneath the sink that shifted out of place, or mineral and gunk buildup that physically blocks the stopper from sitting flat. When any of these things happen, water slowly trickles down the drain instead of staying in the basin, making everyday tasks like shaving, soaking, or washing your face frustrating.
The good news is that a pop-up drain assembly is a simple mechanical system. In many cases, you can troubleshoot the issue yourself with a few basic tools and a little bit of time. Here is a clear look at how your pop-up drain works, what you can do to get it working again, and when it makes more sense to replace the worn components.
How a Bathroom Pop-Up Stopper Works
To fix the problem, it helps to understand what is happening behind the scenes. Your sink stopper connects to a linkage assembly located directly under the sink basin. When you push down or pull up on the small handle behind your faucet, a flat metal bar (called a clevis strap) moves up or down. That strap connects to a horizontal metal rod—the pivot rod—which inserts into the bottom of the drain pipe and hooks into the base of the stopper.
When everything is aligned and clean, moving the faucet handle tilts the pivot rod, pulling the stopper down tight against the drain opening to create a watertight seal. If any piece of that chain slips, corrodes, or gets caked in residue, the stopper loses its range of motion and stops sealing properly.
Step 1: Clean the Stopper and Drain Opening
Before you crawl under the vanity with a wrench, start with the simplest fix: cleaning away debris that may be obstructing the seal.
- Lift the stopper out: Some stoppers simply lift straight out of the drain with a gentle twist. If yours does not budge, it is linked to the pivot rod underneath, which means you will need to loosen the pivot nut below the sink first.
- Scrub away residue: Soap scum, hair, toothpaste, and hard water minerals frequently collect along the stopper body and around the drain rim. Use an old toothbrush, warm water, and mild dish soap (or white vinegar for mineral scale) to scrub both the stopper and the upper drain flange clean.
- Inspect the rubber gasket: Check the rubber or silicone ring around the top edge of the stopper. If it is coated in grime, clean it thoroughly and test it in the sink to see if that solves the issue.
Step 2: Adjust the Pivot Rod Under the Sink
If cleaning the stopper does not solve the problem, the mechanism underneath the basin likely needs a small adjustment. Over time, the thumbscrews can loosen, causing the rod to slip out of proper alignment.
- Locate the clevis strap: Look under your sink cabinet with a flashlight. You will see a vertical metal strip with several holes in it attached to the lift rod from your faucet.
- Check the spring clip and rod: The horizontal pivot rod passes through one of the holes on the clevis strap and is held in place by a small spring clip.
- Adjust the height: Squeeze the spring clip to release the horizontal rod, then slide the rod into an adjacent hole that allows the stopper to pull down further when the faucet lever is closed. Tighten the thumbscrew holding the clevis to the vertical lift rod.
- Test the movement: Pull the faucet lever and watch the stopper. It should pull firmly down into the drain seat without straining the linkage.
When to Replace Worn-Out Parts
Adjustments and cleanings work wonders when the hardware is still in good shape, but mechanical parts do not last forever. Sinks in older homes often develop issues that adjustments cannot fix:
- Deteriorated rubber seals: Over years of exposure to water and cleaning chemicals, rubber gaskets dry out, crack, or flatten. Once the rubber loses its flexibility, it can no longer form a tight seal against the drain flange.
- Corroded pivot rods: The horizontal pivot rod sits inside standing drain water constantly. In older drains, the metal ball or tip of the rod can rust away completely, leaving the stopper loose and unresponsive.
- Stripped retaining nuts or threads: If the retaining nut that holds the pivot ball in place is cracked or cross-threaded, it may leak water onto the cabinet floor whenever you adjust it.
When parts are pitted, rusted, or brittle, replacing the pop-up drain assembly is much more reliable and long-lasting than trying to force worn components to work together.
Fast, Reliable Sink Repair from The Drain Man Plumbing
A sink that will not hold water is a small nuisance that can quickly disrupt your morning routine. While it might seem minor, working under a tight vanity cabinet with corroded nuts and delicate drain connections can easily lead to unwanted leaks under your sink if parts are overtightened or cross-threaded.
This small but annoying fix is exactly the kind of job The Drain Man Plumbing's sink repair service takes care of quickly. Whether your pop-up drain needs a fast linkage realignment, a fresh seal, or a complete drain assembly replacement, our experienced team ensures your sink works smoothly and stays leak-free.
Get Your Sink Drain Working Like New
If you live in Jefferson City, Tennessee, or the surrounding area, you do not have to struggle with a stubborn sink stopper or dripping drain pipes under your cabinet. Reach out to The Drain Man Plumbing today by calling our local office or submitting a service request through our website to schedule your sink repair.